One of my granddaughters has started eighth grade this year. She has a strong interest in computer graphic arts, programing and robotics. She has outgrown the family laptop and her iPad for advancing her graphic arts and computer skills. Her parents decided that getting a more capable computer and a workstation would be the next step in aiding her education. I was asked to design and build this computer desk/workstation.
I was given very few design parameters:
• Size of the entire desk
• Bookcase size, it had to fit specific storage trays
• Basic functionality
• Wood species, which was negotiated. We settled on White Oak for the bookcase and Walnut for the Desktop.
Other than what is mentioned above, I was given a pretty wide-open creative license. I decided to push my woodworking skills and try a new technique. I was going to join the two main top pieces using a "Bow Tie" or sometimes called a "Butterfly" joint. I had never done a Bow Tie before, so I was looking forward to the challenge.
Drawing of the Desk - I always make a drawing of any project befopre I start. It helps me plan for the material and allows me to spot challenges (really problems) and resolve them on paper instead of making firewood.
The more I work with beautiful wood species, the more time I spend looking at the grain and figuring out how to make it as stunning as possible. I was fortunate to find a local company Hardwood Industries, that had an excellent selection of 6/4 Walnut in stock. I was allowed to hand select the specific pieces that I needed for this project. The selection was fantastic and I believe that I found some incredible pieces.
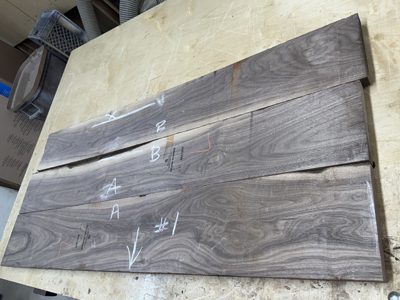
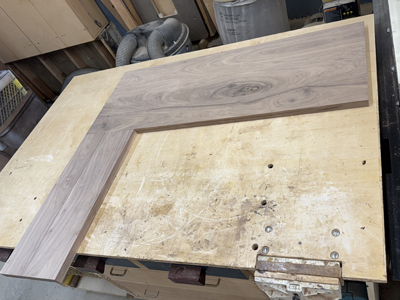
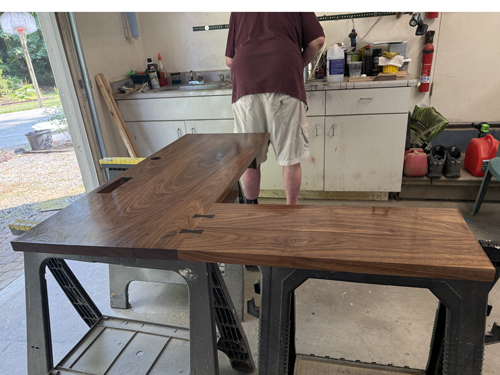
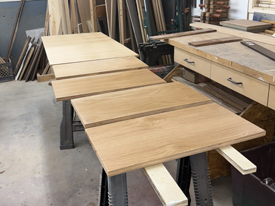
This view is the main top, rough cut to length and laid out in a grain pattern that looked good. The white chalk marks are just to help me remember what I decided for future reference. In almost every case the end layout could change to fit the exact size and pattern of the finished grain.
After I cut down the pieces to the apporximate size, I wiped them down with water to really high-light the grain patterns.
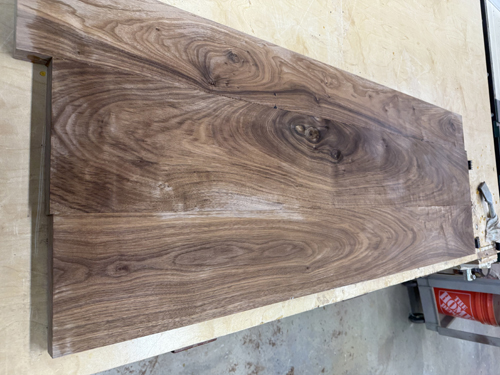
Cut to size and layout the top
Glued up and ready for finish sanding and staining.
I always stain the under-side first, or more importantnly I ALWAYS stain the most importnant surfaces last to make sure they look the best.
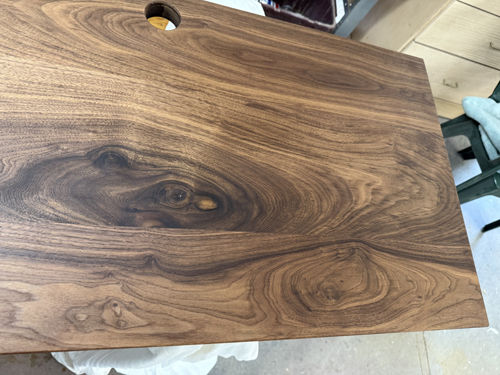
Top Stained
First Coat of Finish
Second Coat of Finish
Final Coat of Finish
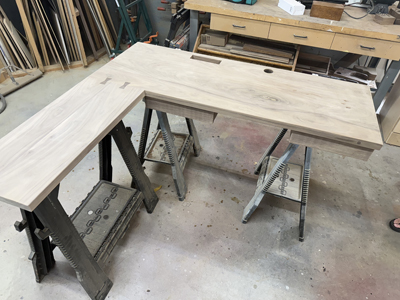
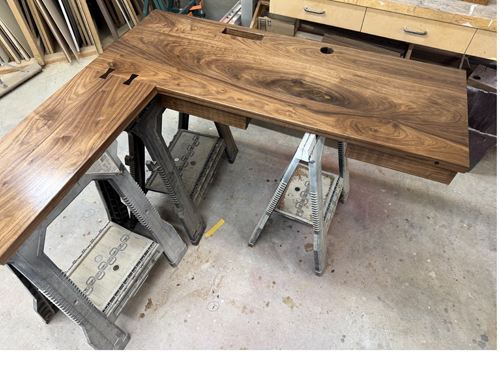
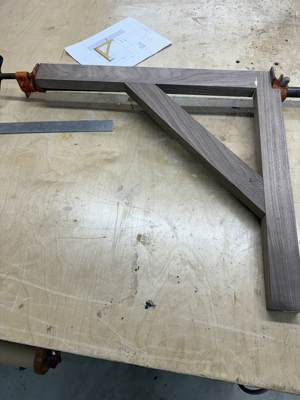
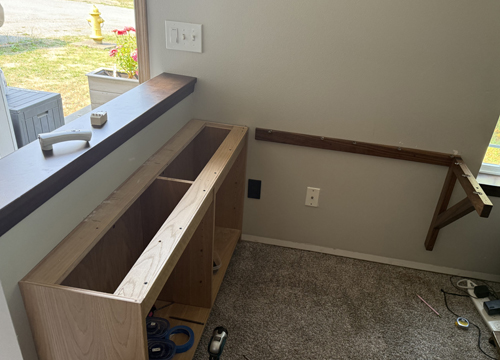
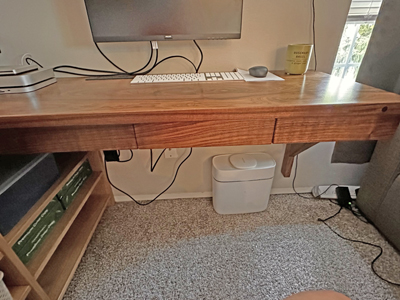
The right side of the desk needed a support, so I built a simple corbel.
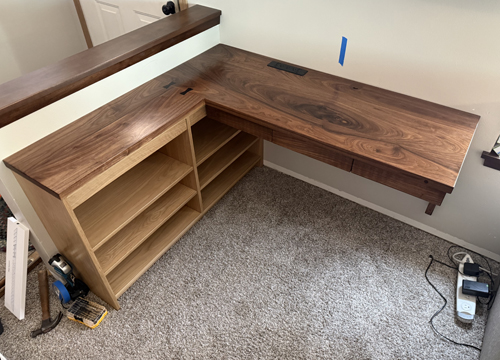
The bookcase was made of White Oak and used a different finish than the desktop, so it was built and finished separately along with the adjsutable shelves.
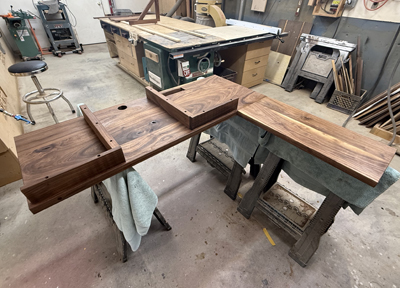
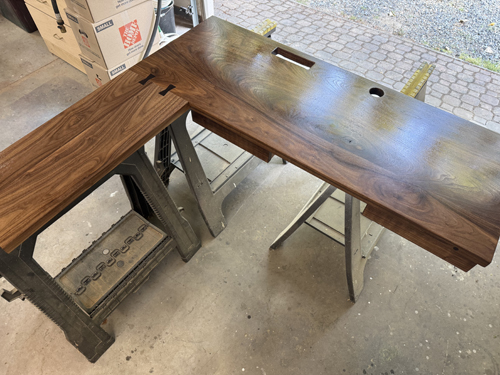
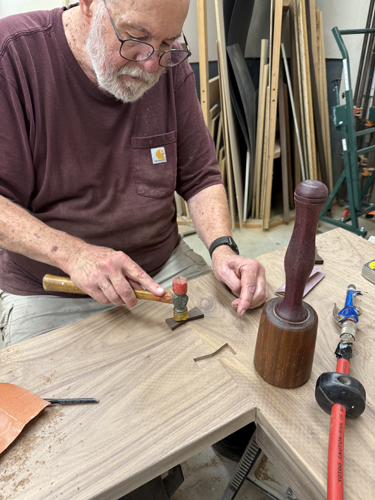
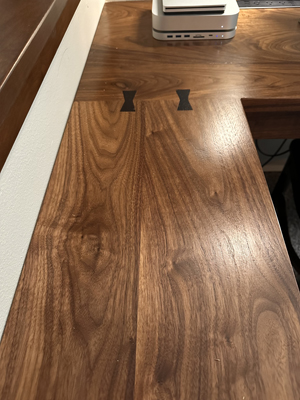
I decided to add two Bow Ties at the desktop joint. I wanted to make then stand-out from the Walnut so I chose to use Wenge (Millettia laurentii) found in Central Africa. It was very hard, dark and even had a warning label about prolonged breathing of the Wenge dust. Below are two videos that show the proccess of cutting the actual Bow Tie.
After carefully routing the BowTie and the spot in the desk top, they still had to be hand fitted to get the best joint possible. Each Bow Tie took about 1-1/2 hours to make and fit into place.
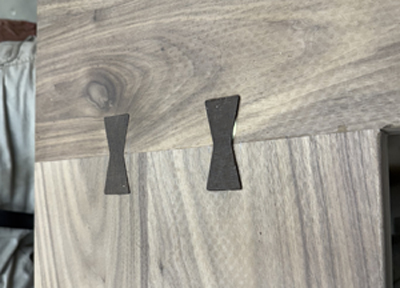
Fit and glued into place.
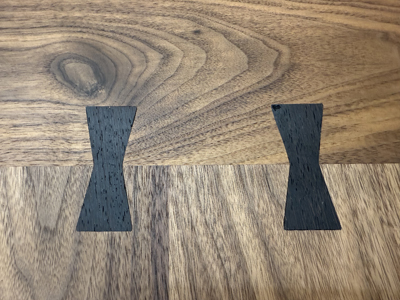
Bow Ties trimmed flush, sanded and stained.
The installation of the desk was straight forward.
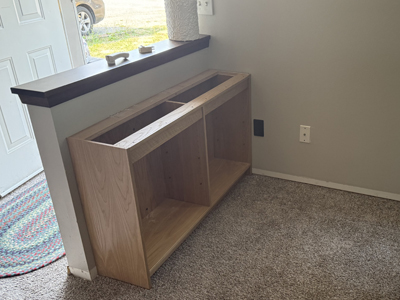
1-Bookcase
2-Nailer and corbel
3-Attach the Desk Top
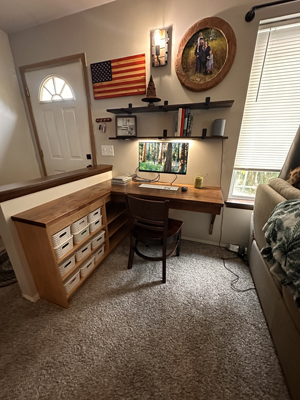
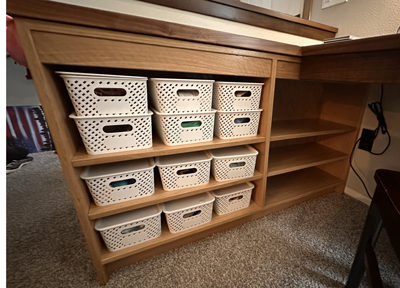
Bookcase with storage baskets
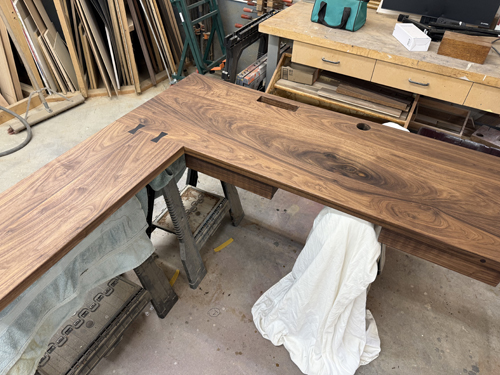
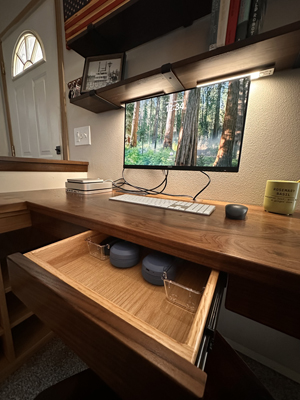
The grain on the drawer matches and aligns with the skirt.
There is a drawer that was integrated inot the skirt of the Desk Top.
BowTie Connection
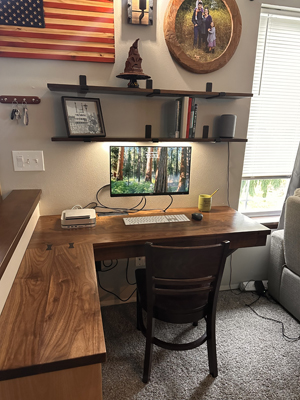
Finshed Desk and Work Station
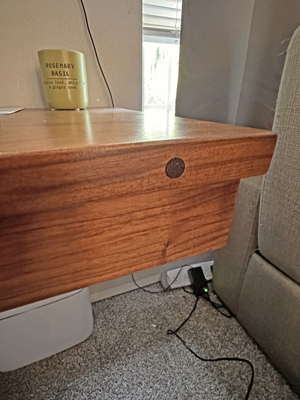
Every piece of furniture that I make, I "Brand" it with a (Non-Functioning) Rosewood plug.
My Granddaughter calls it "The Kiss from Papa"
This was a very fun project. Not only for helping my granddaughters and family, but also teaching me a new skill in making inlays and specifically Bow Ties. I now have the tools, knowledge and most importantly the experience in building Bow Ties.